 Save to Pinterest
 My coworker brought a tin of homemade chocolate coconut bites to the office one Tuesday, and I couldn't stop thinking about them for weeks afterward. They were chewy, rich, and tasted nothing like the guilty-pleasure version I'd grown up with, yet somehow felt even more indulgent. When she finally shared her method, I realized how simple it was to make something that genuinely tastes like a treat but doesn't leave you feeling weighed down. Now I keep a batch in my freezer because they've become my answer to that 3 p.m. craving when I want something sweet but real.
I made these for a Sunday potluck at a friend's place where everyone was bringing something, and I watched two people reach for a third bite without even asking what was in them. When I told them coconut, maple syrup, and dark chocolate, they looked genuinely surprised that healthy food could taste this good. It became the kind of moment where you realize how much pleasure comes from sharing something that actually nourishes instead of just filling a plate.
What's for Dinner Tonight? 🤔
Stop stressing. Get 10 fast recipes that actually work on busy nights.
Free. No spam. Just easy meals.
Ingredients
- Unsweetened shredded coconut (2 cups): The foundation here, and using unsweetened is key because it lets the maple syrup shine without things tasting artificially sweet. I learned this the hard way when I grabbed the sweetened kind once and ended up with something that felt more like candy than a real snack.
- Coconut oil, melted (3 tbsp): This binds everything together and adds that subtle, creamy texture that makes these feel luxurious. Cold coconut oil won't mix in smoothly, so melting it first makes the whole process easier.
- Maple syrup (3 tbsp): The gentle sweetener that keeps things tasting natural instead of artificial. I've tried swapping it for agave or honey when I didn't have maple on hand, and both work, but maple has this warmth that feels right.
- Vanilla extract (1 tsp): Just a touch to round out the flavors and add depth without being noticeable as vanilla. It's that quiet ingredient that makes people ask what makes them taste so good.
- Dark chocolate chips (1 cup): The outer layer that makes these feel indulgent, and I always check the label to make sure there's no hidden dairy if I'm serving them to vegan friends. The darker the chocolate, the better, because it balances the sweetness of the coconut filling.
Instructions
- Set your stage with parchment:
- Line a baking sheet with parchment paper so you're not wrestling with sticky coconut when you're done.
- Pulse until sticky:
- Throw the shredded coconut, melted coconut oil, maple syrup, and vanilla into a food processor and pulse until the mixture looks wet and holds together when you press it between your fingers. You're not making a smooth paste, just something cohesive and textured.
- Shape with your hands:
- Scoop about a tablespoon of the coconut mixture at a time and roll it gently between your palms into a compact bite or ball, then place it on the parchment. If the mixture feels too soft, your hands warming it up is actually helping, so don't worry.
- Freeze until firm:
- Pop the baking sheet into the freezer for 20 to 25 minutes. You want them solid enough to handle without falling apart when you dip them in chocolate.
- Melt chocolate gently:
- Put your dark chocolate chips in a microwave-safe bowl and heat them in 20-second bursts, stirring between each burst, until smooth and pourable. This slower method prevents chocolate from seizing and turning grainy.
- Dip with confidence:
- Pull a frozen coconut bite from the freezer and dip it into the melted chocolate, letting any excess drip back into the bowl, then return it to the parchment. If you prefer, you can drizzle chocolate over the top instead of full dipping.
- Set the final layer:
- Pop the chocolate-coated bites back into the refrigerator or freezer for 10 minutes more until the chocolate hardens completely.
- Store for later:
- Keep them in an airtight container in the refrigerator for up to 10 days or frozen for up to 2 months, and they taste just as good straight from cold storage.
 Save to Pinterest
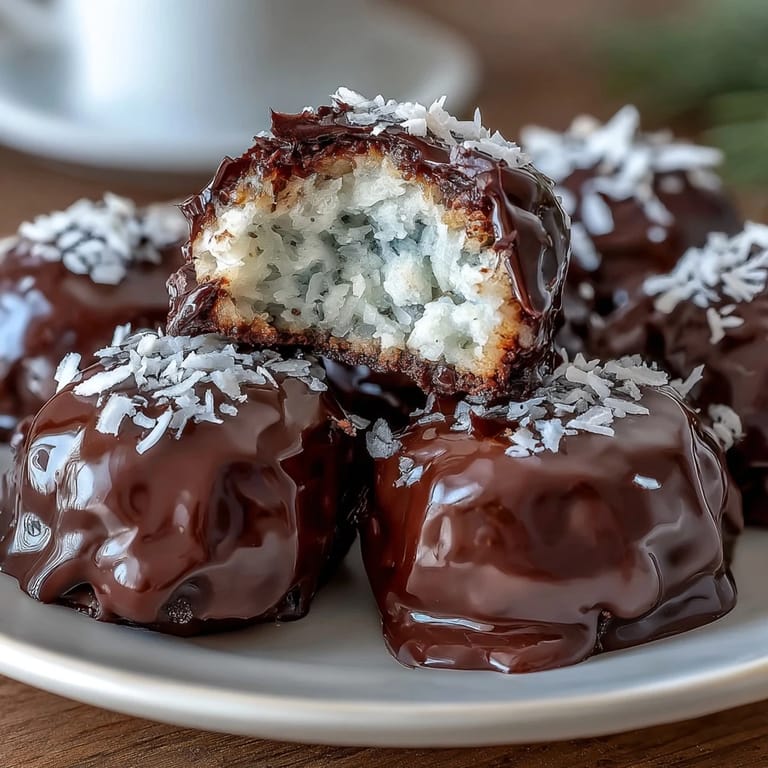
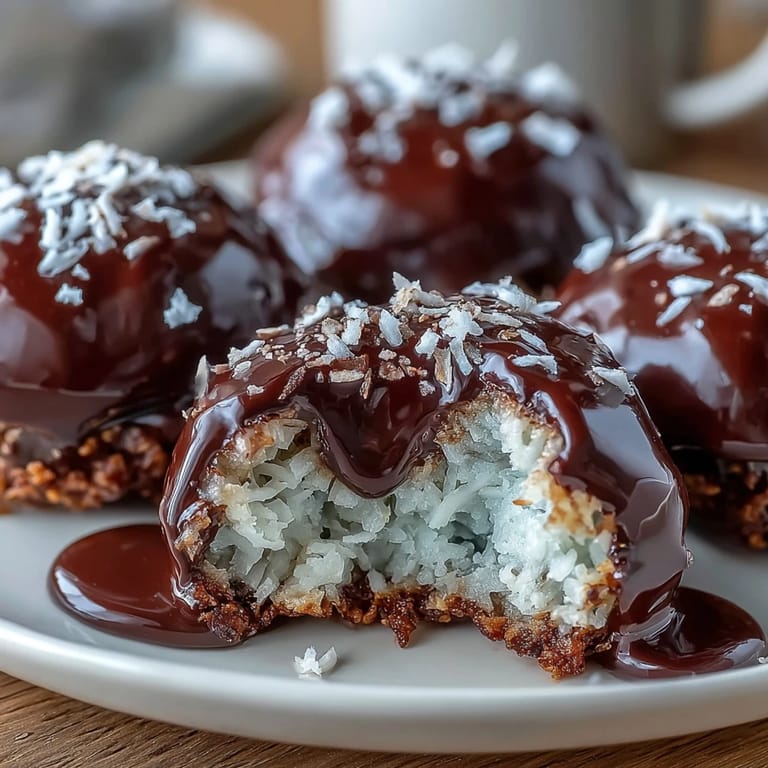
 There's something quiet and good about biting into one of these and getting that snap of chocolate shell followed by the chewy coconut center. It's the kind of snack that feels special without needing anything fancy or complicated, and that's when you know you've found something worth keeping in your rotation.
Customizing Your Bites
Once you have the base recipe down, this is where you can play and make it your own. Some people add 2 tablespoons of chopped nuts or cacao nibs to the coconut mixture for crunch, and honestly, it changes the whole texture in the best way. I had a version with chopped almonds that tasted like a fancy candy, and another time I used cacao nibs and felt like I was eating something deeply chocolatey and sophisticated.
Flavor Swaps That Actually Work
The maple syrup can be swapped for agave syrup if that's what you have, or honey if you're not keeping these strictly vegan, and you genuinely won't notice much difference. I've also played with using coconut extract instead of vanilla for a deeper coconut flavor, though that's more of an experiment than a backup plan. The beauty here is that you're working with such clean ingredients that swapping one for another rarely breaks the whole thing.
Storage and Keeping Them Fresh
These bites live best in cold storage, which means your refrigerator is their happy place for up to 10 days, or your freezer if you want them to last up to 2 months. The frozen ones are actually better in some ways because they stay firmer and feel almost like a chocolate-covered truffle when you eat them straight from the freezer. They also thaw quickly at room temperature if you want that softer texture, so you can have them either way depending on your mood.
- Keep them in an airtight container or a small glass jar to prevent them from drying out or absorbing weird flavors from your freezer.
- If you notice any condensation forming when you take them out of the freezer, they're developing a little frost, which means they're still fine but best eaten within a couple of days.
- These pair beautifully with strong coffee, herbal tea, or a glass of cold almond milk, making them a perfect afternoon or evening snack.
 Save to Pinterest
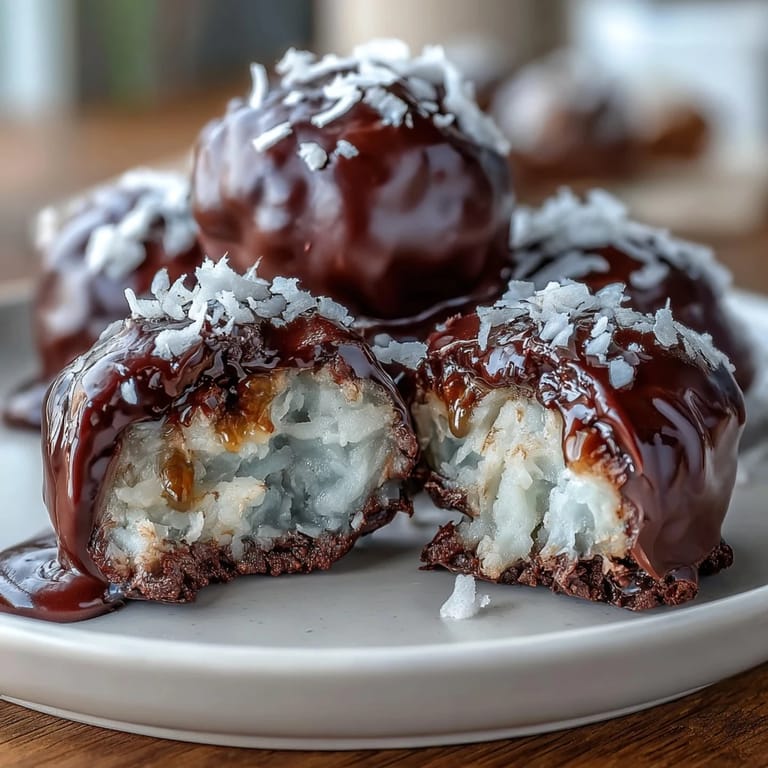
 These bites have become my small proof that eating well and eating something that tastes genuinely delicious don't have to be two different things. They're simple enough to make on a whim but special enough to feel like you're taking care of yourself.