Save to Pinterest
 When I first tried making Rainbow Jelly Cake, it was during a restless summer evening punctuated with the hum of the fridge and the chatter of old friends in the other room. The kitchen soon filled with a gentle, sweet scent and flashes of color as I hurriedly lined up bowls of liquid jelly, quietly hoping each layer would set neatly. It felt like a small science experiment with a dash of playfulness, and watching the colors stack up was unexpectedly satisfying. By the time the coconut cream was simmered and poured, my hands were tinged with a little food coloring and a lot of excitement. There's a little thrill to unmolding a dessert that's as beautiful as it is delicious.
I remember the soft clatter of spoons and the excited squeal from my niece the first time I brought this jelly cake out for a birthday picnic. She paused mid-bite just to examine if the rainbow went all the way through—and I realized in that moment it’s as much about the taste as it is about the delight in sharing bright, unexpected food with people you love.
What's for Dinner Tonight? 🤔
Stop stressing. Get 10 fast recipes that actually work on busy nights.
Free. No spam. Just easy meals.
Ingredients
- Agar-Agar Powder: The secret to that famous jelly texture—make sure to stir thoroughly to avoid hidden granules.
- Water: Precise measurement gives you those clean, vivid layers without watering down the flavor.
- Granulated Sugar: Not just for sweetness: the right amount keeps the jelly pleasingly tender and not brittle.
- Food Colorings (Red, Orange, Yellow, Green, Blue, Purple): Use gel or liquid drops—just a touch!—for bold, non-muddied shades.
- Vanilla Extract (optional): A tiny splash mellows the flavors and rounds out the sweetness; don't overdo, or the color clarity gets cloudy.
- Coconut Cream: Thick, rich, and fragrant—shake the can well before opening for even texture.
- Pinch of Salt: Just enough to wake up the coconut and balance the sugars.
Instructions
- Swirl Up the Jelly Base:
- Combine agar-agar powder and water in a saucepan, stirring constantly as the powder swirls and softens, then bring to a gentle boil. Wait until the lumps vanish and add the sugar and a dash of vanilla, inhaling the warm, comforting scent as everything dissolves.
- Tint and Divide:
- Take the clear jelly off the heat and pour it carefully into six bowls—each will soon become a playful stripe of the rainbow. Stir in just a drop or two of food coloring per bowl and watch as the kitchen counter transforms into a painter’s palette.
- Layer and Set:
- Pour the red jelly into your mold, watching as it spreads glass-smooth. Pause for a few minutes—let it just barely set—then layer on orange, then yellow, green, blue, and finally purple, being patient as each layer chills to that perfect jiggle.
- Prepare the Coconut Cream:
- In a clean saucepan, blend agar-agar with water and coconut cream, whisking over a low flame until velvety and steamy. Add sugar and a whisper of salt, stirring until the smell turns warm and rich—your kitchen will become a little nap-worthy.
- Cloak the Rainbow:
- As soon as the purple layer has fully set, gently pour the warm (not hot) coconut cream mix over the top. Let the whole mold cool on the counter before nudging it into the fridge.
- Chill and Unmold:
- Let your cake chill for at least an hour; press your finger to test for firmness before gently running a knife around the edge and inverting it onto a plate. Unmolding is like a quiet magic trick—hold your breath, then lift.
- Serve and Savor:
- Slice into it with a sharp knife, wiping between cuts for those crisp stripes. Serve chilled cubes to giddy guests or just yourself—either way, joy is almost guaranteed.
 Save to Pinterest
 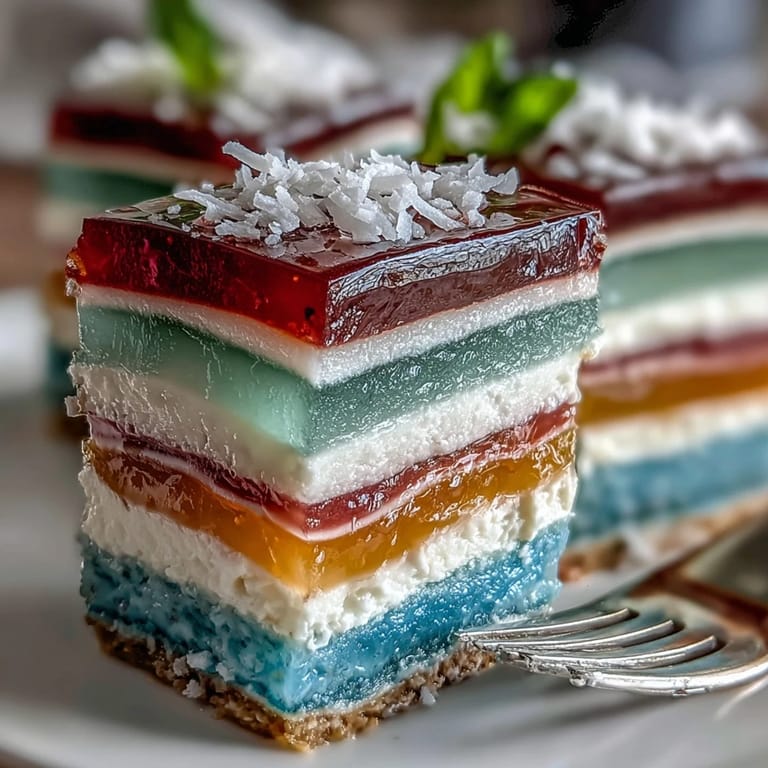 Save to Pinterest
 On a lazy Sunday, my friends and I found ourselves eating leftover rainbow jelly cake straight from the platter in the fridge—no plates or ceremony, just laughter and sticky fingers. I realized then that even the most beautiful desserts sometimes taste best when shared in the quiet chaos of real life.
Making Perfect Layers Every Time
I've learned to keep a tiny stash of ice packs in the freezer—placing the mold atop one helps each layer set faster, and I can time every pour to avoid impatience. It also keeps the colors from blurring together, which is especially helpful in summer when my kitchen warms up fast.
How to Unmold Without the Drama
Running an offset spatula or thin knife around the edge with a gentle hand has saved many cakes; I also dip the bottom of the mold in hot water for a few seconds. The jelly usually slides out with a gentle wobble and applause from anyone watching.
Switching Up Flavors for Fun
Pandan or rose extract can be used for a new twist, and swapping in natural fruit and vegetable colorings makes the recipe feel surprisingly festive at spring or autumn gatherings. A little experimentation never hurt anyone—just keep the coconut cream layer classic for best results.
- Let each jelly color cool until barely set before adding the next.
- Layering goes faster with a cold mold.
- Vivid colors show best when sliced with a wet, sharp knife.
 Save to Pinterest
 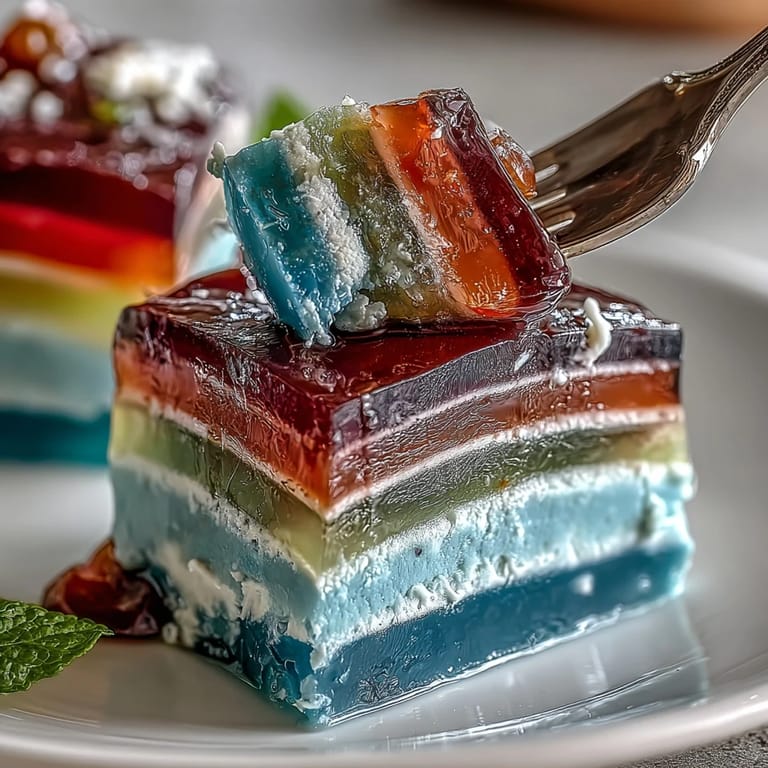 Save to Pinterest
 May your next rainbow jelly cake bring a splash of color and a moment of pure cheer—no special occasion required.
Recipe Q&A
- → How can I tell when agar-agar is fully dissolved?
Bring the agar-agar mixture to a gentle rolling simmer and stir constantly for about 2–4 minutes. The liquid should look clear and free of grainy bits before you remove it from heat.
- → Will gelatin work instead of agar-agar?
Gelatin sets with a softer, more custard-like texture and is not suitable for vegan diets. If using gelatin, reduce the cook time and adjust quantity—expect a different mouthfeel and melting point.
- → How do I prevent colors from bleeding between layers?
Allow each layer to reach a soft set before pouring the next (5–8 minutes). Pour gently and, if needed, cool the surface slightly to avoid disturbing the layer beneath. Using a spoon or offset spatula to diffuse the pour helps maintain clean lines.
- → Any tips for cleanly unmolding the cake?
Chill until completely firm, then run a thin knife or offset spatula around the edges. Briefly warm the outside of the mold with a towel dipped in warm water to loosen, then invert onto a plate for a smooth release.
- → How long will the finished dessert keep?
Keep covered in the refrigerator for up to 3 days. The texture remains best when chilled; avoid strong-smelling foods nearby as coconut can absorb odors.
- → Can I add other flavors to the jelly layers?
Yes—pandan, rose, or citrus zest work well in small amounts. Use water-soluble extracts or infused liquid to avoid interfering with the gelling action of agar-agar.