 Save to Pinterest
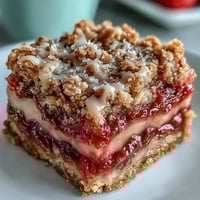
 My sister showed up one afternoon with a bag of freeze-dried strawberries and a challenge: make something pink, sweet, and ready by dinner. I had white chocolate, a can of condensed milk, and zero patience for waiting on an oven. What came out of that spontaneous experiment was a tray of brilliantly pink fudge squares that disappeared before they even reached room temperature. The tangy strawberry powder cut through the sweetness in a way fresh berries never could, and the crunchy graham base kept every bite from feeling too precious.
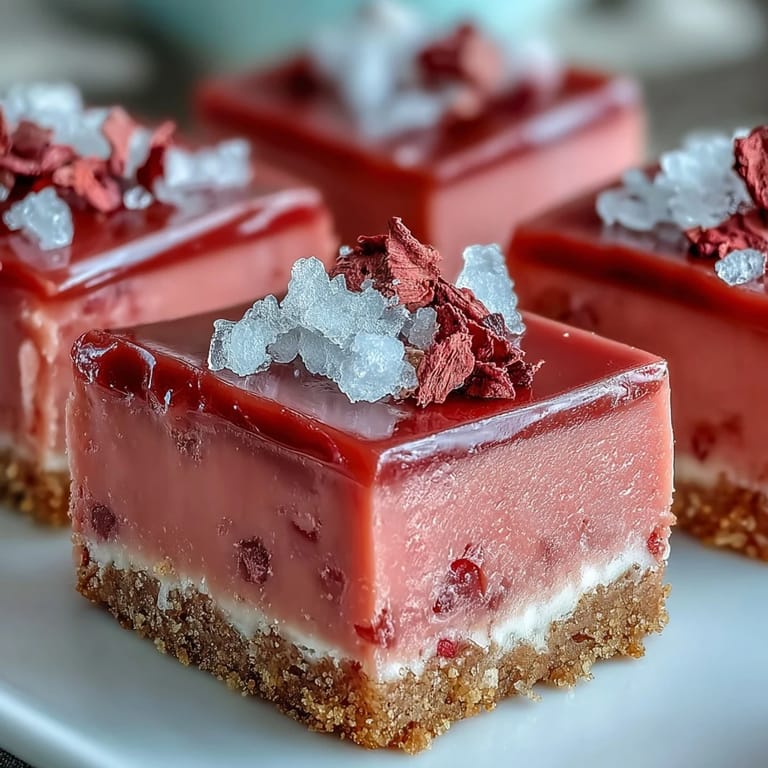
I made these for a spring potluck where everything else was pastel and polite. My bright pink squares stood out like a neon sign, and I watched people take cautious first bites, then immediately go back for seconds. One friend asked if I used fresh strawberries, and I loved telling her the secret was in the freeze-dried aisle. The texture stayed firm even as the afternoon warmed up, and the crust never turned soggy despite sitting out for hours.
What's for Dinner Tonight? 🤔
Stop stressing. Get 10 fast recipes that actually work on busy nights.
Free. No spam. Just easy meals.
Ingredients
- Digestive biscuits or graham crackers: Crush them fine so the crust packs down tight and holds together when you slice, no crumbly edges allowed.
- Unsalted butter: Melted butter binds the crumbs into a sturdy base that chills firm and slices clean without falling apart.
- White chocolate chips: Choose good quality chips or bar chocolate; the creamier the chocolate, the silkier your fudge layer will set.
- Sweetened condensed milk: This is the magic that turns chocolate into fudge, adding sweetness and body that firms up perfectly in the fridge.
- Freeze-dried strawberries: Grind them to a powder for concentrated berry flavor that dissolves smoothly without adding liquid that would soften the fudge.
- Pure vanilla extract: A teaspoon rounds out the sweetness and makes the strawberry flavor taste fuller, not flat.
- Pinch of salt: Balances the sugar and keeps the fudge from tasting one-note or cloying.
- Pink or red gel food coloring: Optional, but a drop or two turns the fudge into a eye-catching shade that looks as fun as it tastes.
Instructions
- Prep the pan:
- Line your square pan with parchment, leaving enough overhang to lift the whole slab out later. This one step saves you from wrestling with a spatula trying to pry out corner pieces.
- Make the crust:
- Toss crushed biscuits with melted butter until every crumb is coated and the mixture clumps when you squeeze it. Press it down hard into an even layer, then chill for 10 minutes so it sets firm.
- Melt the fudge base:
- Set a heatproof bowl over simmering water and add white chocolate and condensed milk, stirring gently until smooth and glossy. Pull it off the heat as soon as the chocolate melts; overheating can make it grainy.
- Add the strawberry:
- Stir in your strawberry powder, vanilla, salt, and a drop of food coloring if you want that bright pop. Mix until the color is even and the powder is fully dissolved with no streaks.
- Assemble and chill:
- Pour the fudge over the chilled crust, spreading it smooth to the edges. Cover loosely and refrigerate for at least 2 to 3 hours until the top feels firm when you press it lightly.
- Slice and serve:
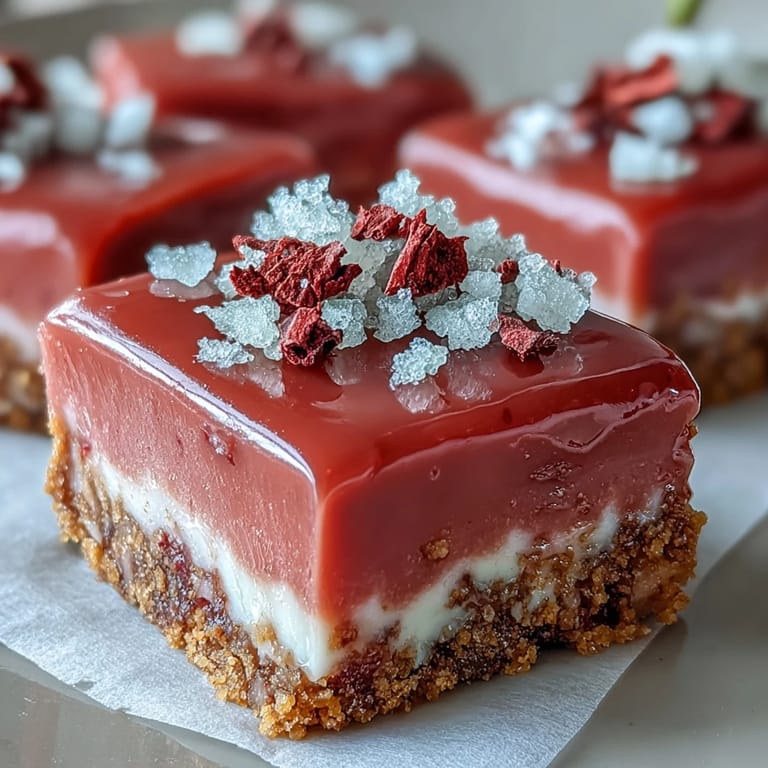
- Lift the whole block out using the parchment, then cut into 16 squares with a sharp knife, wiping it clean between cuts. Garnish with fresh or freeze-dried strawberry bits if you like, then serve chilled or slightly softened.
 Save to Pinterest
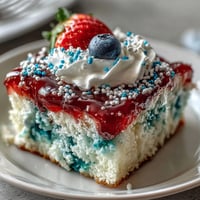
 The first time I brought these to a family gathering, my niece claimed three squares before anyone else got to the table. She loved that they were pink, I loved that they were foolproof, and everyone loved that they tasted like summer without turning on the oven. That tray became the benchmark for every no-bake dessert I have made since.
Storage and Make-Ahead
These squares keep beautifully in an airtight container in the fridge for up to five days, getting firmer and fudgier as they sit. You can also freeze them for up to a month; just layer parchment between the squares so they do not stick together. Let them thaw in the fridge for a few hours before serving, or eat them straight from the freezer for a chewy, cold treat that tastes like strawberry ice cream fudge.
Flavor Twists
Swap the strawberry powder for freeze-dried raspberries or blueberries to change the color and flavor without changing the method. You can also fold in a handful of chopped white chocolate chunks or mini marshmallows before you pour the fudge over the crust for extra texture. If you want a marbled look, swirl a spoonful of crushed fresh raspberries into the fudge just before chilling, but use a light hand so the extra moisture does not soften the set.
Serving Suggestions
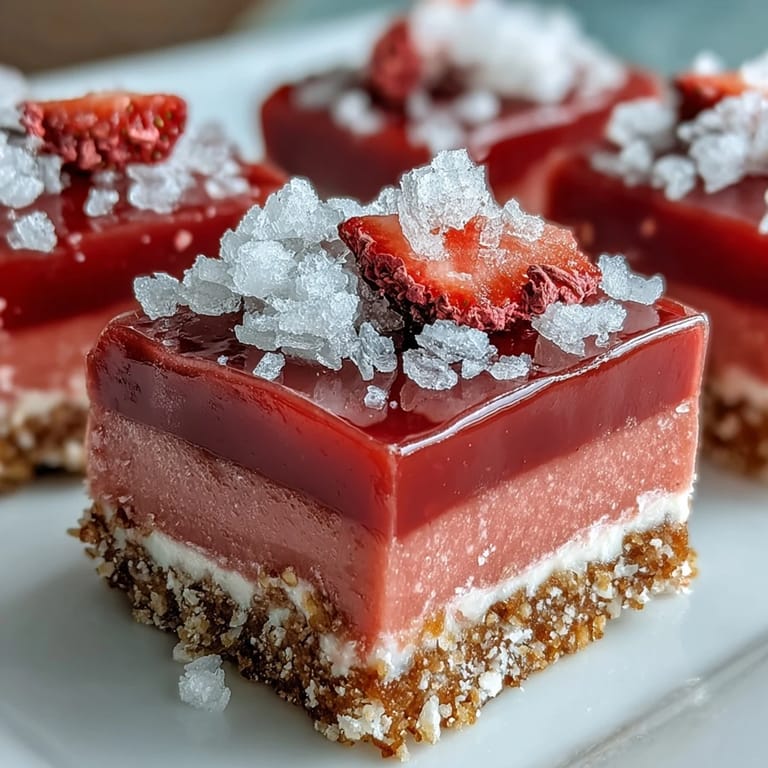
Serve these squares straight from the fridge for clean, firm slices, or let them sit at room temperature for 10 minutes if you prefer a softer, melt-in-your-mouth texture. They look beautiful stacked on a dessert platter, tucked into a gift box, or plated with a dollop of whipped cream and a fresh strawberry on the side.
- Dust the tops lightly with coarse sugar crystals for a sparkling finish that catches the light.
- Pair them with cold milk, hot coffee, or a glass of sparkling rosé for a sweet contrast.
- Cut them smaller for bite-sized treats at a party, or keep them large for a satisfying dessert portion.
 Save to Pinterest
 These strawberry fudge squares have become my go-to when I want something impressive without the stress of baking. They taste like a celebration, look like a party, and require nothing more than patience and a little chill time.
Recipe Q&A
- → Can I use fresh strawberries instead of freeze-dried?
Yes, though the texture will be slightly softer. Use 100g fresh strawberries, puréed and strained through a fine-mesh sieve to remove excess liquid before adding to the melted chocolate mixture.
- → How should I store these fudge squares?
Keep in an airtight container in the refrigerator for up to 5 days. The squares stay firm and slice best when chilled. Let stand at room temperature for 10 minutes before serving for a softer, creamier texture.
- → Can I make this dairy-free?
Absolutely. Substitute dairy-free white chocolate chips and coconut condensed milk for the traditional dairy versions. Use vegan butter or coconut oil for the crust, and ensure your biscuits are dairy-free.
- → Why is my fudge mixture not setting firm?
This usually happens if fresh strawberries contained too much moisture, or if the mixture wasn't chilled long enough. Ensure you strain fresh strawberry purée thoroughly and refrigerate for the full 2-3 hours minimum.
- → Can I freeze these squares?
Yes, freeze well-wrapped squares for up to 2 months. Thaw in the refrigerator overnight. The texture remains excellent, though fresh strawberry garnish is best added after thawing.